10 things to check on every house showing
Five showings in a day sounds manageable until you are standing in the last house trying to remember whether it was the third or the fourth one that had the low water pressure. By the time you get home, the details have already started to merge. A checklist does not slow you down during a showing. It gives you something concrete to compare when the day is over.

 Westin Tanley
May 28, 2026 · 6 min read
Westin Tanley
May 28, 2026 · 6 min read
Why a checklist matters more than you think
The problem with house showings is not that they are hard to evaluate. It is that you do five of them in a row and your brain starts compressing the details. By the fourth house, you are no longer comparing it to a mental baseline. You are comparing it to the previous house, which you have already half-forgotten. By the sixth, the first three have blurred into one impression.
A checklist solves the memory problem. But it also protects you from a subtler issue: there are things you would only notice from actually living in a space that are easy to overlook during a 20-minute showing. The noise from a nearby road that only bothers you when the house is quiet and the agent has stopped talking. The storage that seemed fine until you tried to picture where your coats and winter gear actually go. The kitchen layout that looked open in photos but creates a traffic jam between the island and the fridge whenever two people are in the room. These are the details that surface later, after you have already committed, unless you are specifically looking for them on the day.
Going through the same 10 categories at every showing gives each property a fair evaluation and gives you something to refer back to when you are trying to make a decision a week later.
1. Curb appeal and the street
Before you open the door, stop and look. Listing photos are taken on a clear day from the most flattering angle, but the street view tells you things the photos cannot. Look at the condition of neighbouring properties, note whether parking is realistic, and check whether there is a noise source nearby that would be part of daily life: a school, a rail line, a commercial lot. Examine the roof, gutters, and exterior cladding for visible wear. Look at the driveway and walkway for cracks and drainage issues. If something bothers you standing at the curb, it will bother you every time you come home.
2. Natural light
Light is the hardest thing to add to a house and the easiest to underestimate during a daytime showing. Ask which direction the main rooms face. In Canada, north-facing rooms receive no direct sunlight at any time of year, and a north-facing living area will feel different in November than it did during the Saturday afternoon showing in May. Pay attention to window size and whether neighbouring buildings or mature trees block the light that should be coming in. If you can, visit again at a different time of day. Morning and afternoon light tell different stories.
3. Layout and flow
A house can have the right square footage and the wrong floor plan. Walk through it the way you would actually live in it, not the way the agent or the staged furniture directs you. Think about where you drop things when you walk in the front door, whether you can move from kitchen to dining area without bottlenecks, and whether the bedrooms have enough separation from the main living space for your household. Open floor plans feel spacious in showings and loud in practice. Closed floor plans feel dated in showings and quieter in practice. The important question is which trade-off works for the way you actually use a home.
4. Kitchen function
Staged kitchens are designed to photograph well, not to be used. Counter space in photos is not the same as prep area in practice. Open every cabinet. Note the depth and height of the storage. Check the age of the appliances and budget for replacement if they are more than ten years old. Turn on the range hood and test whether it moves air or just makes noise. Run the kitchen tap and note the pressure. Consider where you would plug in the things you actually use when you cook. A kitchen that works for the previous owners may not work for how you cook.
5. Bathrooms
Bathrooms are expensive to renovate and often the first place a house shows its age. Look past the décor. Flush the toilet and run the shower simultaneously to see whether the pressure drops significantly. Examine the grout and caulk around the tub and shower, because discolouration is often a sign of moisture problems behind the tile rather than surface dirt. Check under the sink for water stains or soft wood. Test the ventilation fan. In older homes, ask whether the plumbing is copper, PVC, or galvanized, since the last of these will eventually need replacing.
6. Storage
Storage is one of the most commonly underestimated factors in a house purchase, and it is almost impossible to evaluate from listing photos because agents know to keep the closet doors closed. Check the entry for a coat closet large enough for your household. Look for a linen closet. Measure bedroom closets in your head: less than 24 inches deep means hanging clothes will not fit properly. Walk through the garage, basement, and attic and distinguish between usable storage and space occupied by mechanical systems. If you cannot picture where the things you own now would go, they will not find a place after you move in.
7. Noise level
A house showing is a social situation with people talking, doors opening, and background noise from the street. You need to spend a few minutes being deliberately quiet. Listen through closed windows and note how clearly you can hear traffic. Wait for the furnace or heat pump to cycle on and take note of the sound it makes inside the house. In semi-detached homes or townhouses, listen for noise through shared walls. These are things you cannot hear from photos and would not notice if you were moving from room to room the whole time. The house you see on Saturday afternoon may sound very different on a Tuesday evening.
8. Structural condition
You will have a home inspection before closing, but a rough scan during the showing is worth doing. Hairline cracks in walls are normal settling. Diagonal cracks running from the corners of door frames or wide horizontal cracks in foundation walls suggest movement. Brown rings on ceilings or walls, or any staining in the basement, indicate a past or active water leak. Walk the perimeter of every room and pay attention to whether floors feel soft or uneven underfoot. Open every window and check that it closes and locks properly. Fogged glass in double-pane windows means the seal has failed and the unit needs replacing.
9. Outdoor space
Backyards look their best in summer showings and their worst in November. Try to evaluate the outdoor space for what it will look like year-round. Check the privacy from neighbours in terms of fence height and sight lines. Note the orientation: a north-facing backyard in Canada gets almost no sun. Look at the deck or patio for soft wood, loose boards, and how it attaches to the house. Check that the ground slopes away from the foundation rather than toward it. Factor in the ongoing maintenance cost of large trees, elaborate gardens, and wood fencing. These are not dealbreakers on their own, but they are costs that do not appear in the listing price.
10. Neighbourhood feel
The neighbourhood you buy into is more permanent than most features of the house itself. Walk the block rather than just the driveway. Note the condition of surrounding properties. Check the actual distance to the grocery store, transit, and school, not the description in the listing. Ask yourself whether this is an area you would choose to spend time in on a weekend. If there are neighbours outside, it costs nothing to introduce yourself and ask what the street is like. People who live there will tell you things the listing never will.
How to keep score with Tour 21
Going through these 10 categories in your head during a showing helps, but without a way to record the scores you are back to relying on memory by the time you get home. Tour 21 has a built-in checklist for exactly this purpose.
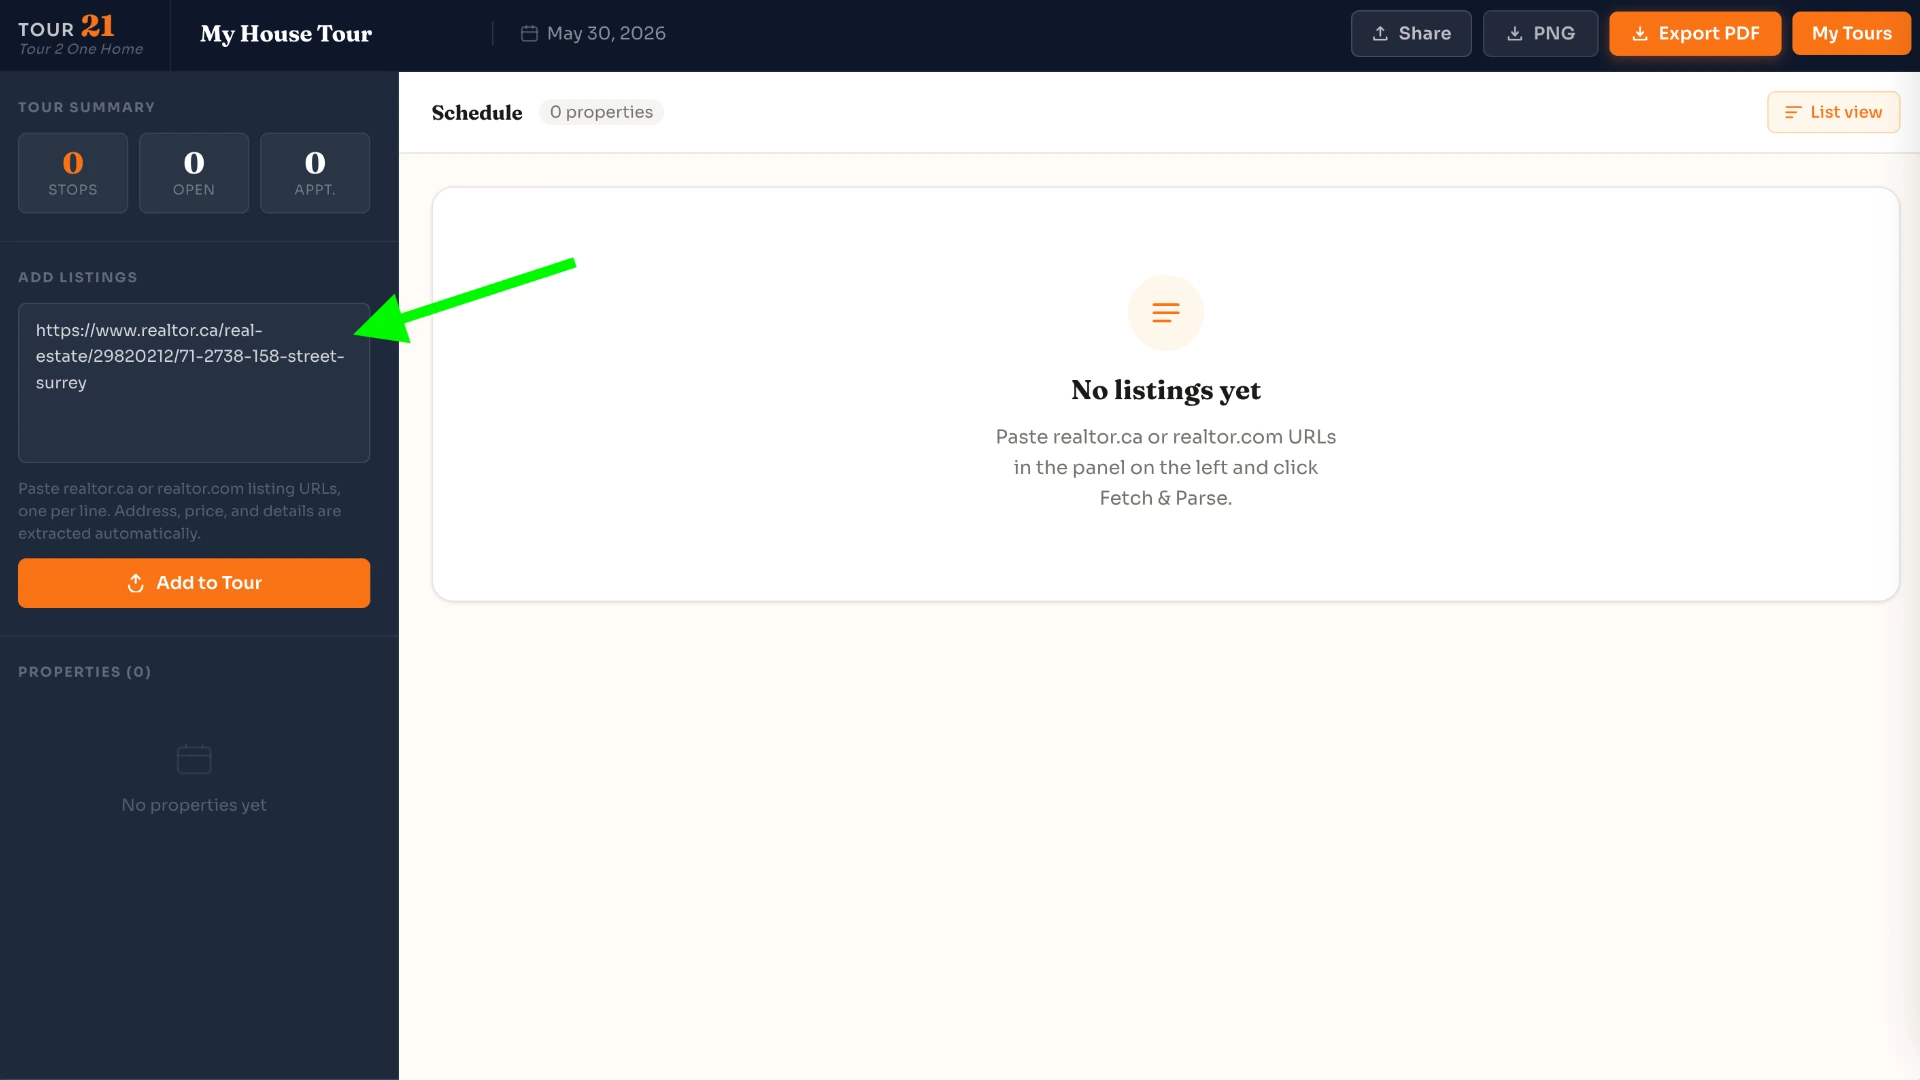
Start by adding your realtor.ca listing link to your tour. Tour 21 pulls the address, price, and open house times automatically so you are not copying anything by hand.
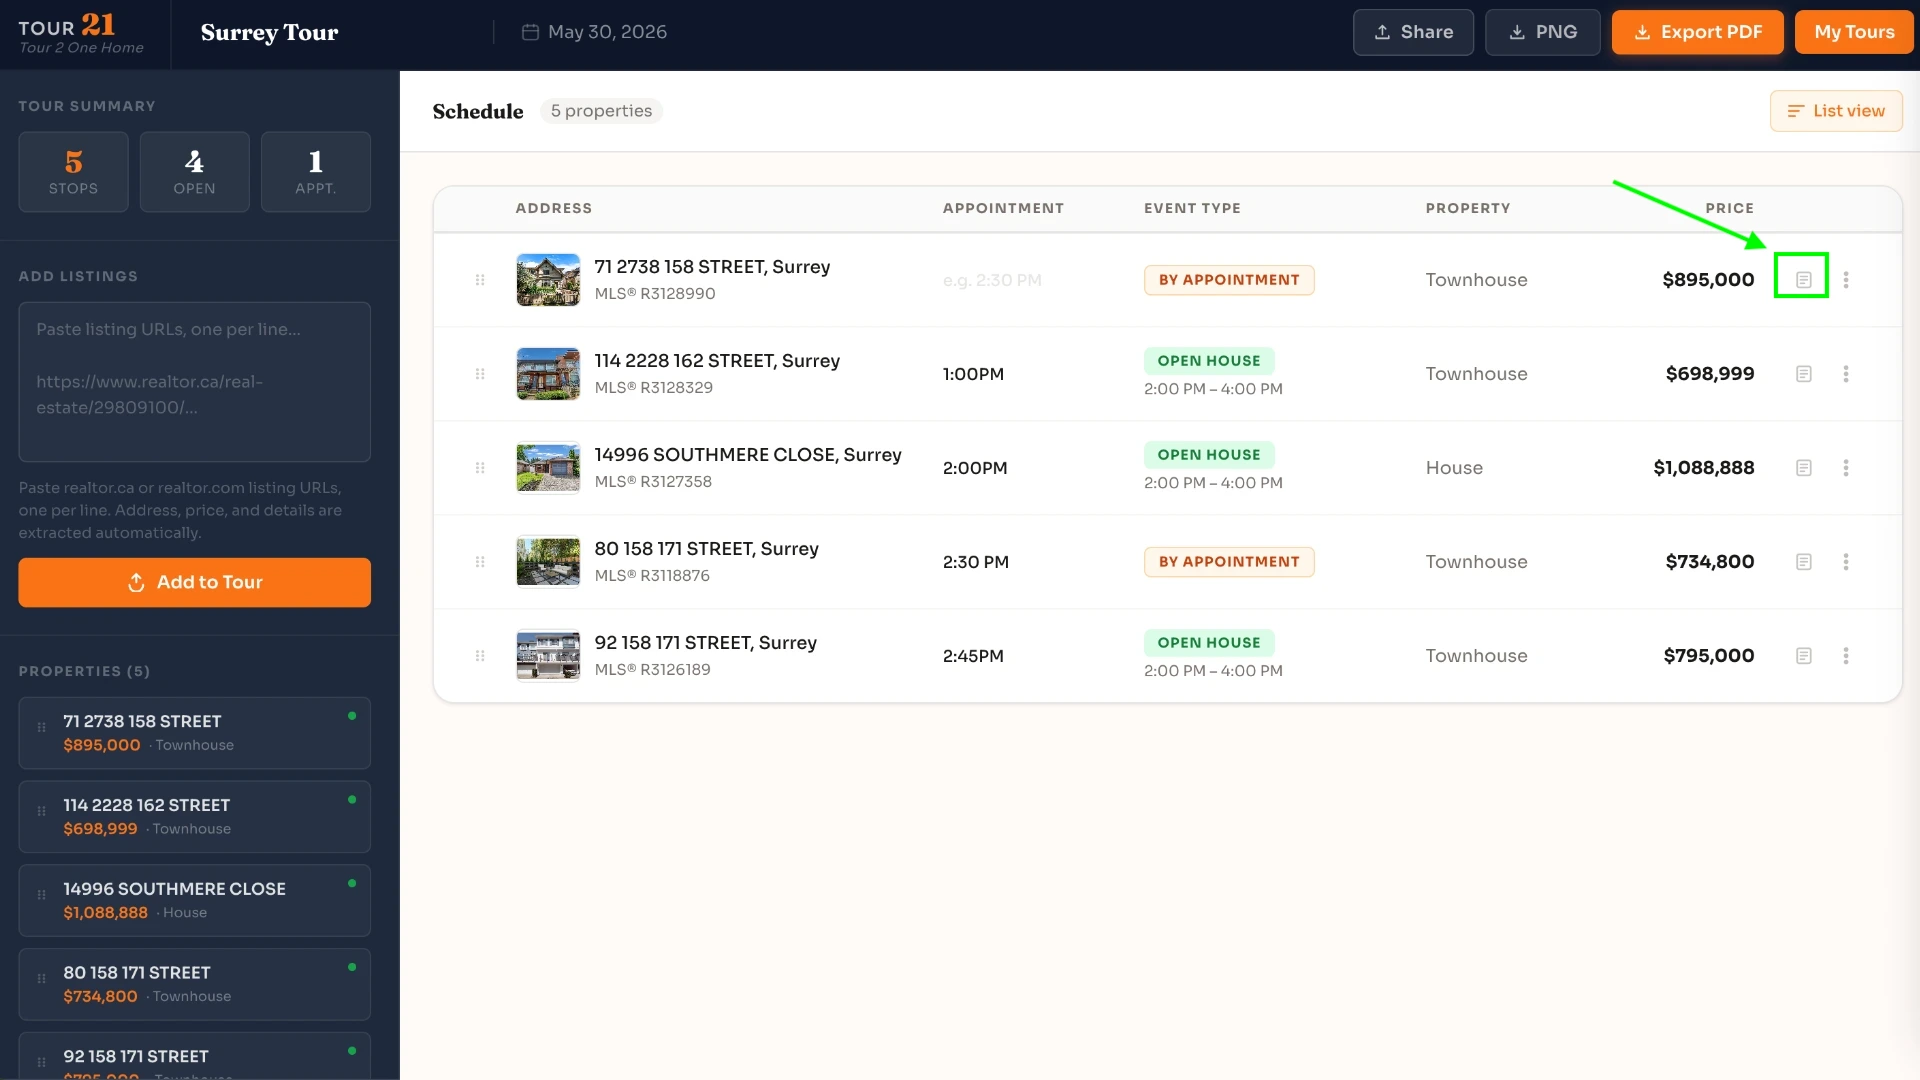
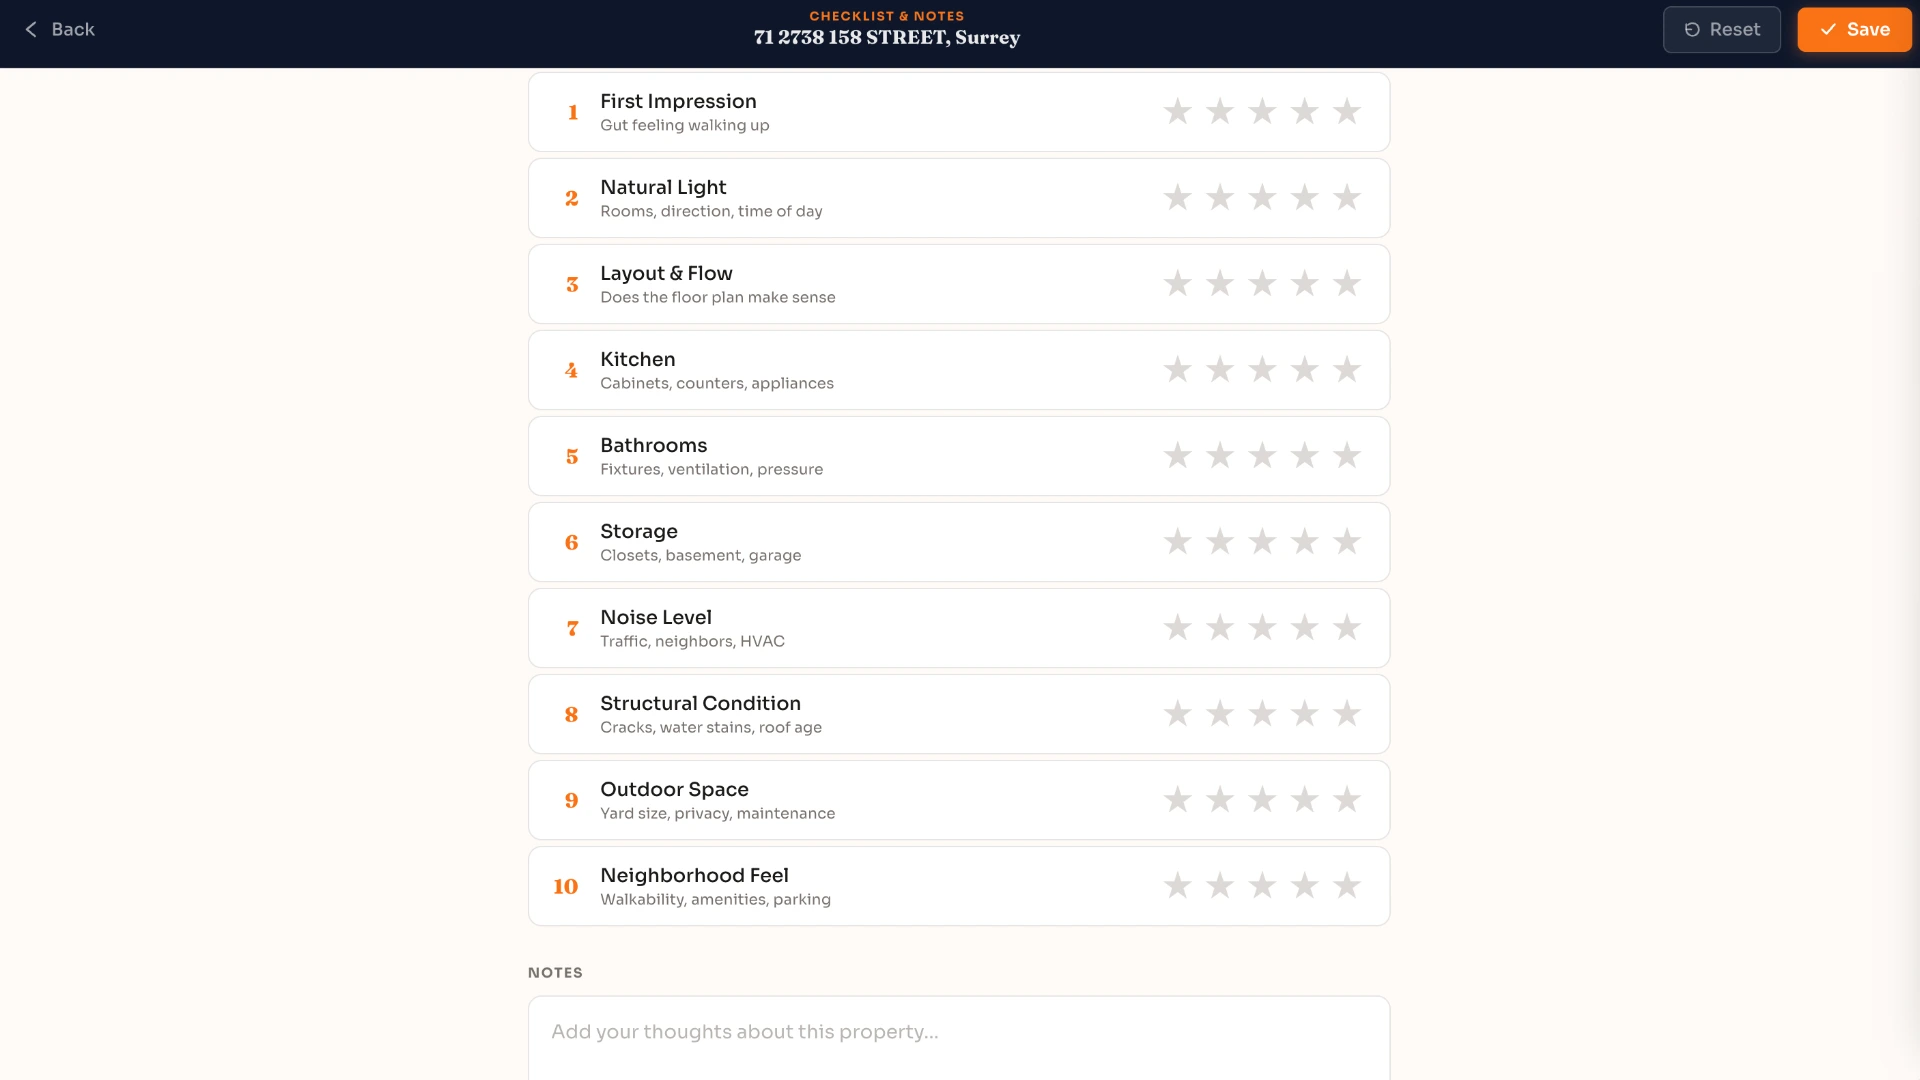
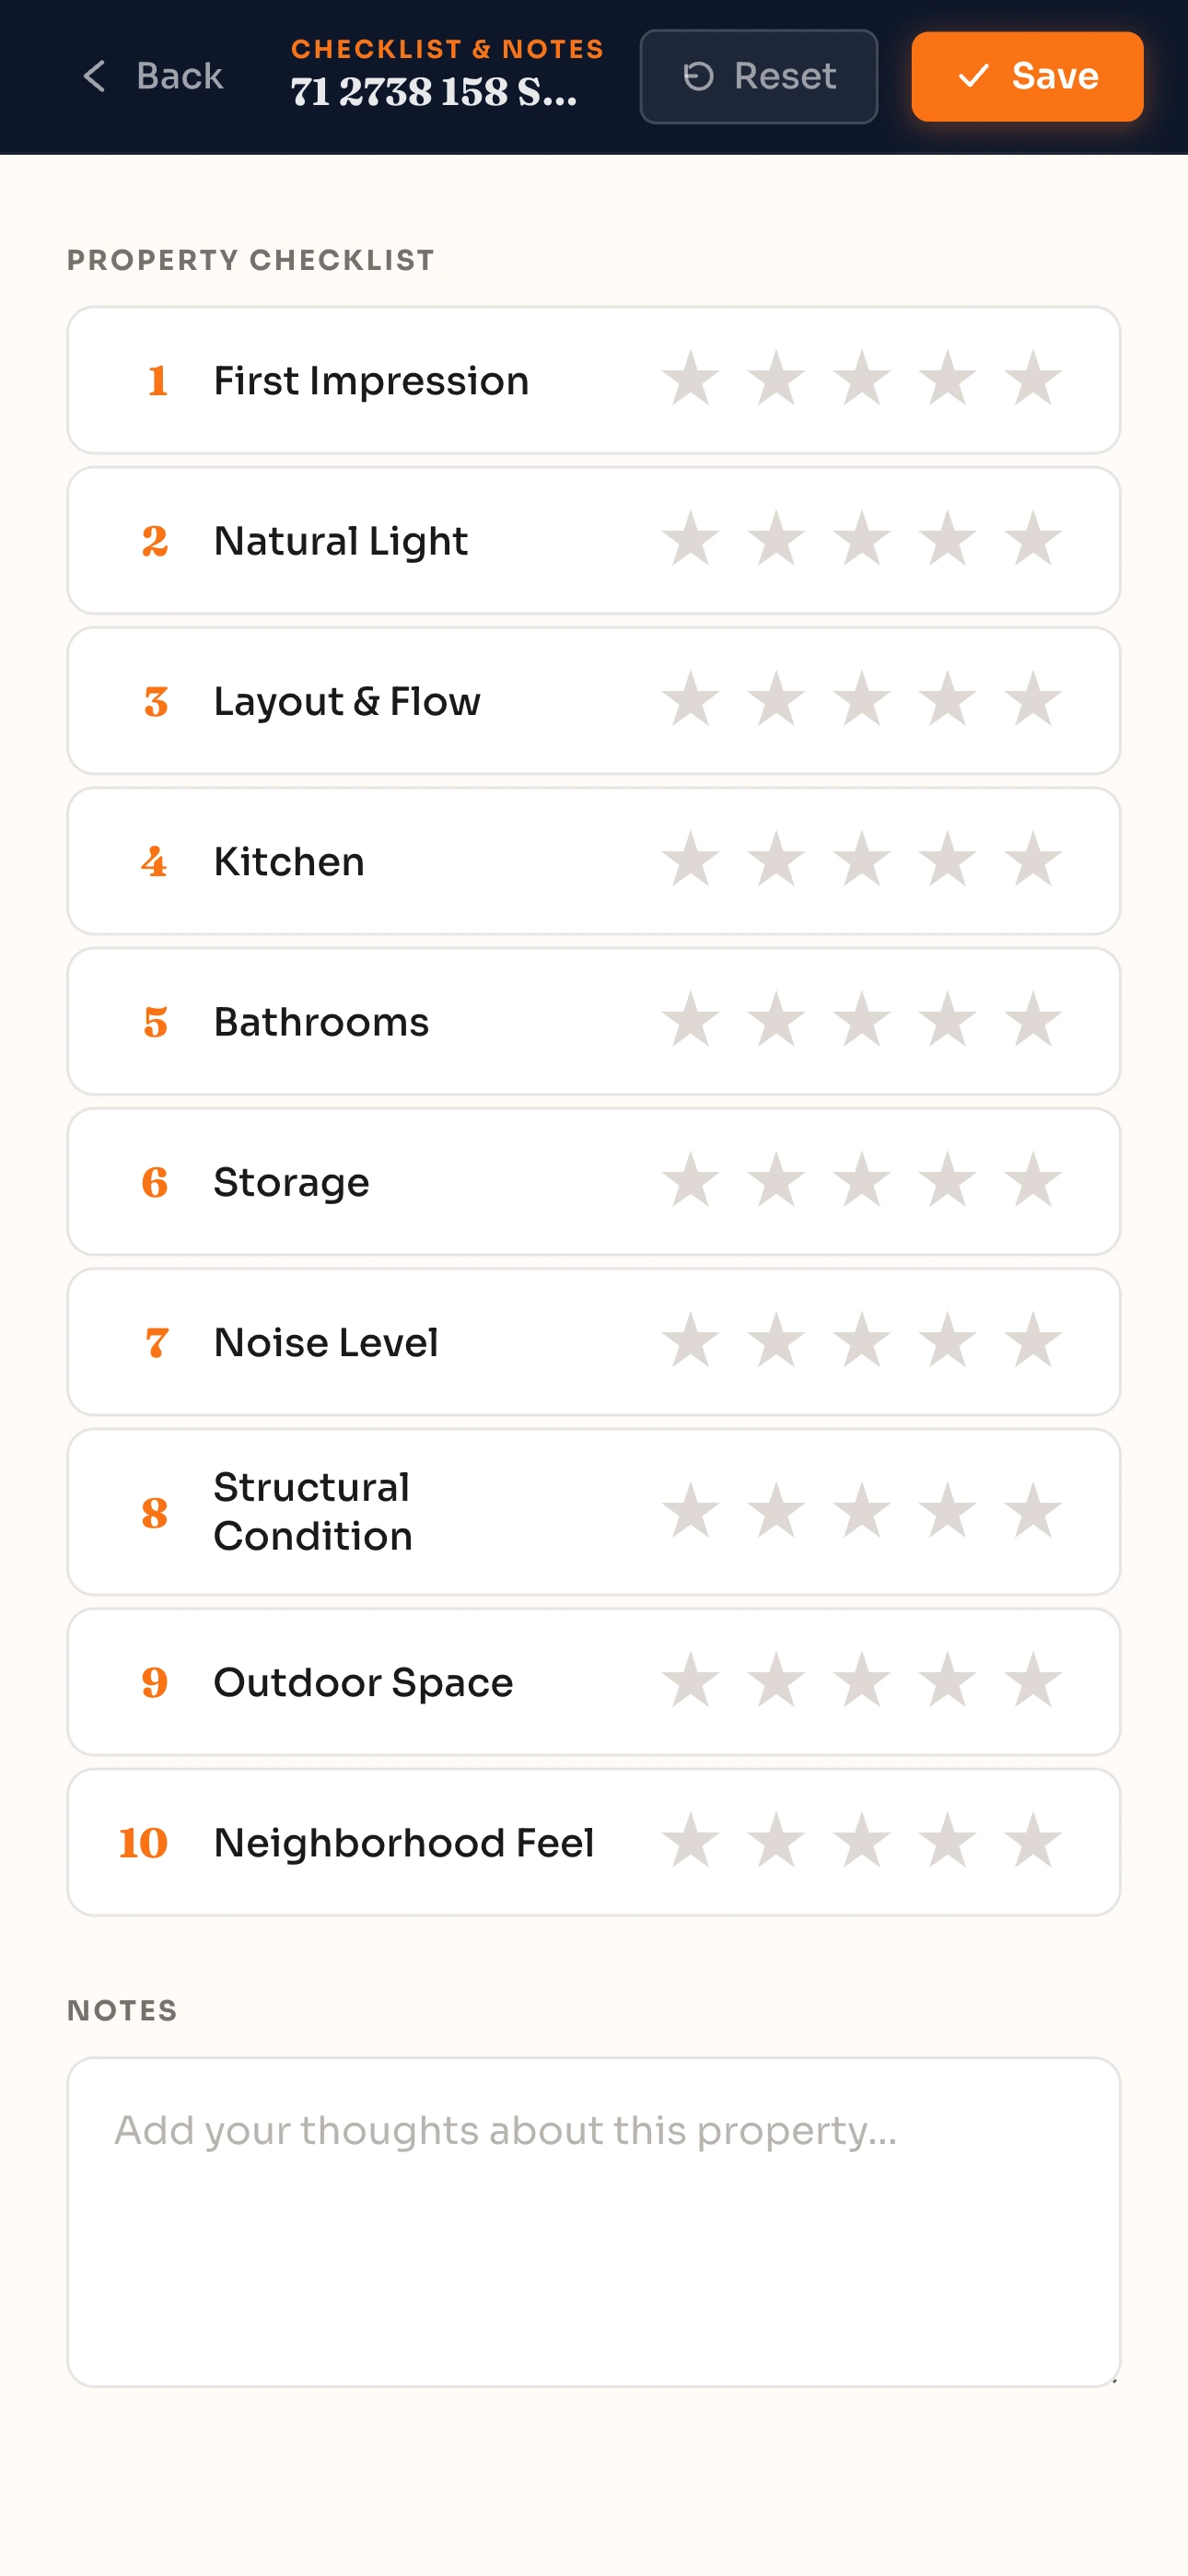
Once the property is in your tour, tap the note button on the property card. This opens the checklist panel with all 10 categories, each rated on a 1-to-5 scale. You fill in the ratings while you are still inside the house, when the impressions are fresh.
At the bottom of the checklist there is a free-text note field for anything the star ratings do not capture. A specific smell you noticed, a question you want to ask the seller, something odd about the basement that you want to follow up on. These notes stay attached to the property card inside your tour so you can review them later without opening the listing again.
The checklist works on mobile. You are standing inside the house with your phone, not sitting at a desk afterward trying to reconstruct what you saw. That is the point.
Frequently asked questions
Why do I need a checklist at a house showing?
After five showings in a day, individual impressions blur together. A checklist forces you to evaluate each property on the same criteria in the moment, so your notes mean something when you sit down to compare at the end of the day.
What are the most overlooked things to check at a house showing?
Noise level, storage quantity, and water pressure are the three most commonly skipped. They are not visible in listing photos and easy to overlook during a showing, but they affect daily life more than almost any cosmetic feature.
How many house showings is too many in one day?
Five to six is a realistic maximum before impressions start to blur. Beyond that, buyers tend to conflate details between properties and stop evaluating each one critically. If your shortlist is longer, split across two days.
How does Tour 21's note feature work?
Each property in your tour has a note button. Tapping it opens a checklist with 10 categories, each rated on a 1-to-5 scale, plus a free-text field for anything else you want to record. Notes are saved to the tour and available when you review later.
Can I compare my notes across multiple properties?
Yes. Your ratings and notes are attached to each property card inside the tour. After the day is done you can scroll through the tour and compare your scores and comments side by side without opening listing pages again.
Conclusion
The showing itself is only half the work. What you do with what you noticed is the other half, and that depends entirely on having something written down. Go through these 10 categories at every showing, record your scores in Tour 21 while you are still inside the house, and the decision at the end of the week becomes a comparison of actual notes rather than faded impressions.